# Template Editing
Learn how to edit the design and style of your App templates
# Create a new template
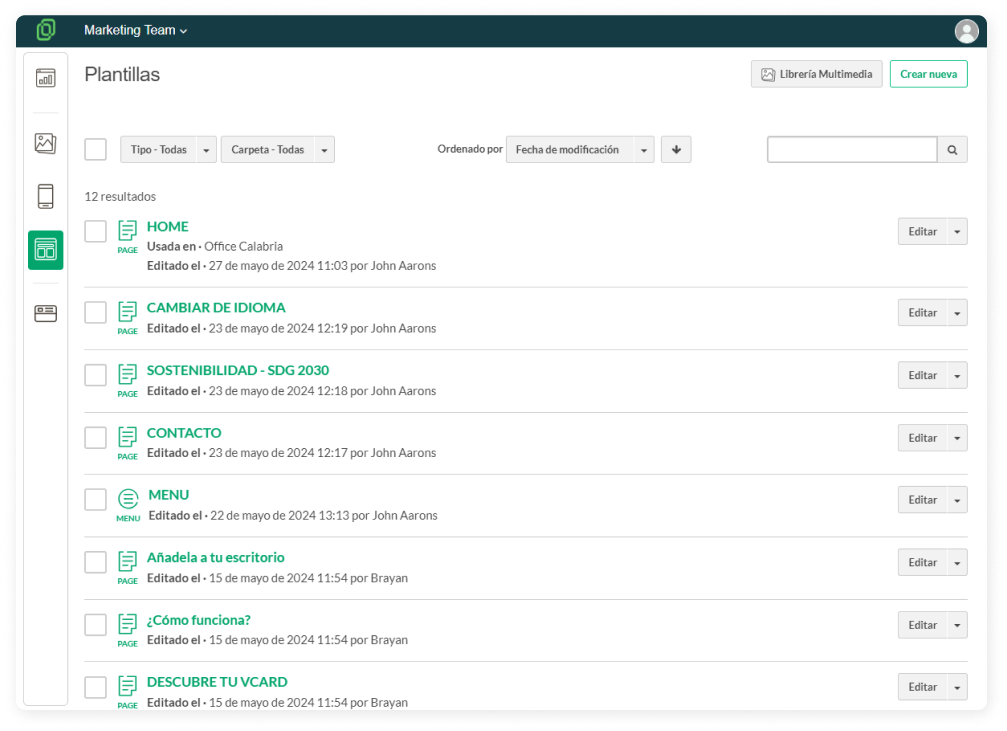
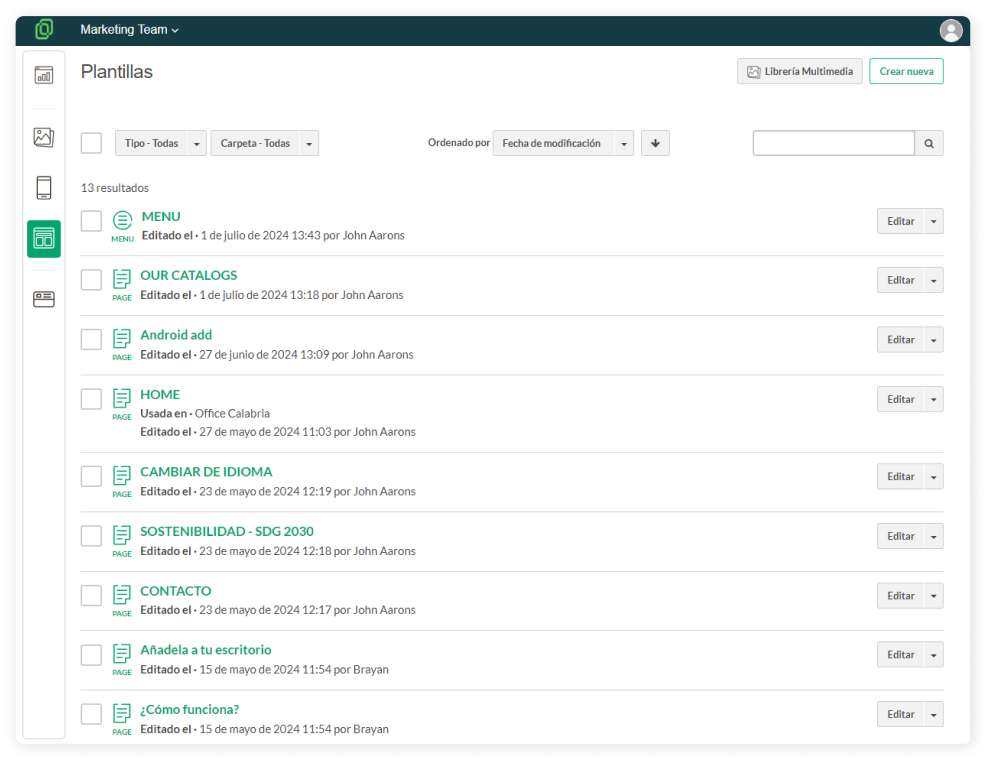
1. From the **Templates** section in the left menu, click on the "Create new" button located at the top left.
[](https://help.tictapcards.com/uploads/images/gallery/2024-06/1CCFlMlLCXm5Z6r2-plantillas-1.png)
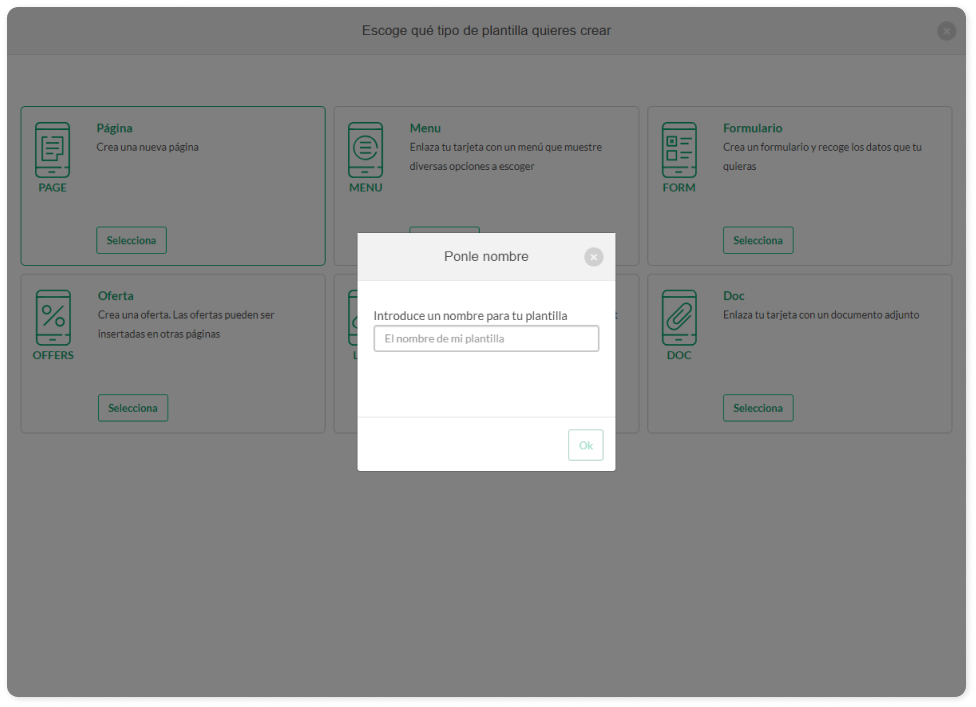
3. Choose the type of template you want to create. You have the following options:
**Page**: Generates a new page within your app. You can customize this page with relevant content such as text, images, and videos, and structure it according to the needs of your project or business.
**Menu**: Creates a menu that allows users to select between different pages of your app. This menu can include links to various sections of your app or links to other web pages.
**Form**: Sets up a form to collect information from your users. You can customize the form fields to gather specific data, such as names, email addresses, phone numbers, comments, or any other information you need.
**Offer**: Develops a special offer that you can insert into different pages of your app. Offers may include discounts, promotions, or any special incentives to attract customers and encourage conversion.
**Link**: Links your card to a specific URL. This allows users to be redirected to an external webpage or a specific location within your own website when they click on the card.
**Doc**: Links your card to an attached file, such as a PDF, Word document, spreadsheet, or any other type of document. This allows users to access and download the file directly from your app.
4. Once you have chosen the type of template you want to create, **name your template** and... voila, template created! ✨
[](https://help.tictapcards.com/uploads/images/gallery/2024-06/8bpg58Dmo6JnqhzF-ponle-nombre-1.png)
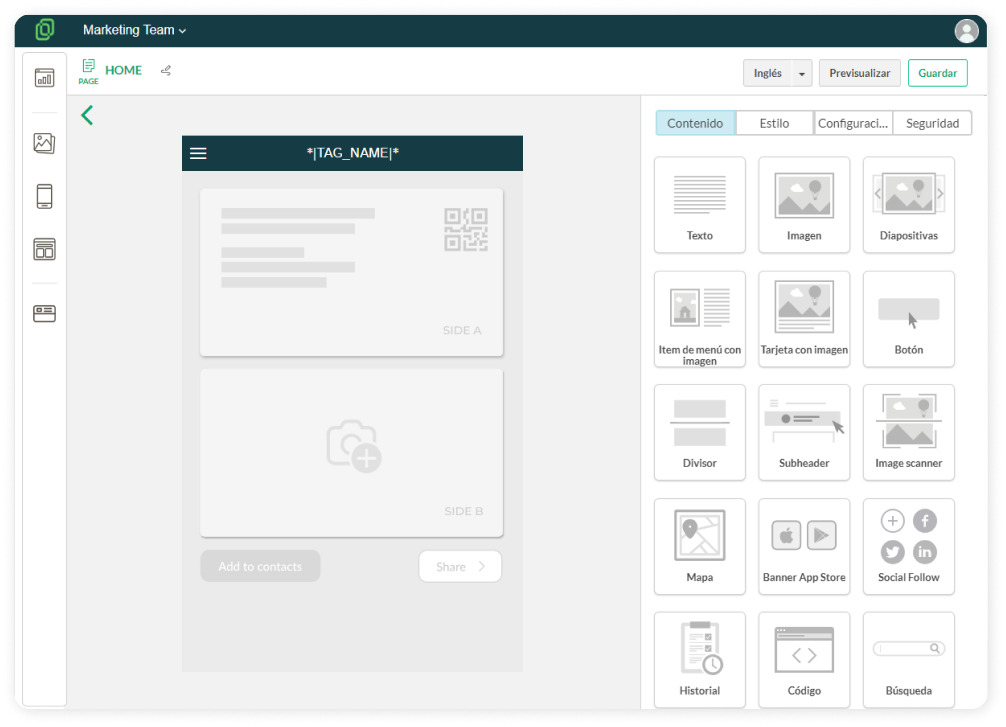
5. Once you have chosen a name, you will be directed to the **template editor**, where you can modify the appearance and content of the template.
[](https://help.tictapcards.com/uploads/images/gallery/2024-06/MbXj5kdCsxSdGcB3-edit-1.png)
# Edit a page template
1. Go to the **Templates** section in the left menu.
2. Choose the template you prefer and click on the **Edit** button.
[](https://help.tictapcards.com/uploads/images/gallery/2024-06/1CCFlMlLCXm5Z6r2-plantillas-1.png)
3. The template will open in the Template Editor. From here, you can choose the content and styles for your template. The template editor is divided into four main blocks:
- **Content**: Here you can drag blocks to add to your template. You can choose from different blocks to add images, text, buttons... to customize the appearance of your template.
[](https://help.tictapcards.com/uploads/images/gallery/2024-06/MbXj5kdCsxSdGcB3-edit-1.png)
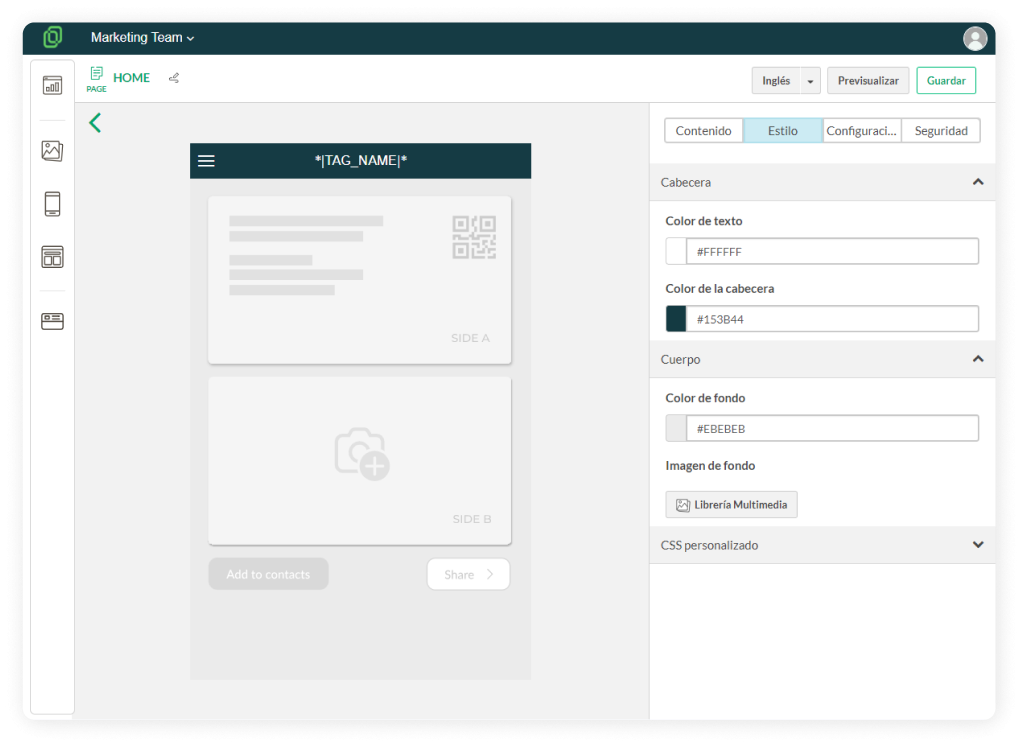
- **Style**: Here you can choose the header color and background color of your template. Instead of a solid color, you also have the option to select an image as the background.
☝️ Remember that to preview the header, you first need to activate the option "Mark this option if you want a header for your page" in the Settings section.
[](https://help.tictapcards.com/uploads/images/gallery/2024-06/opxwmJ1qHljpRCK5-estilo-1.png)
- **Settings**: Here you can determine options to further customize your template:
[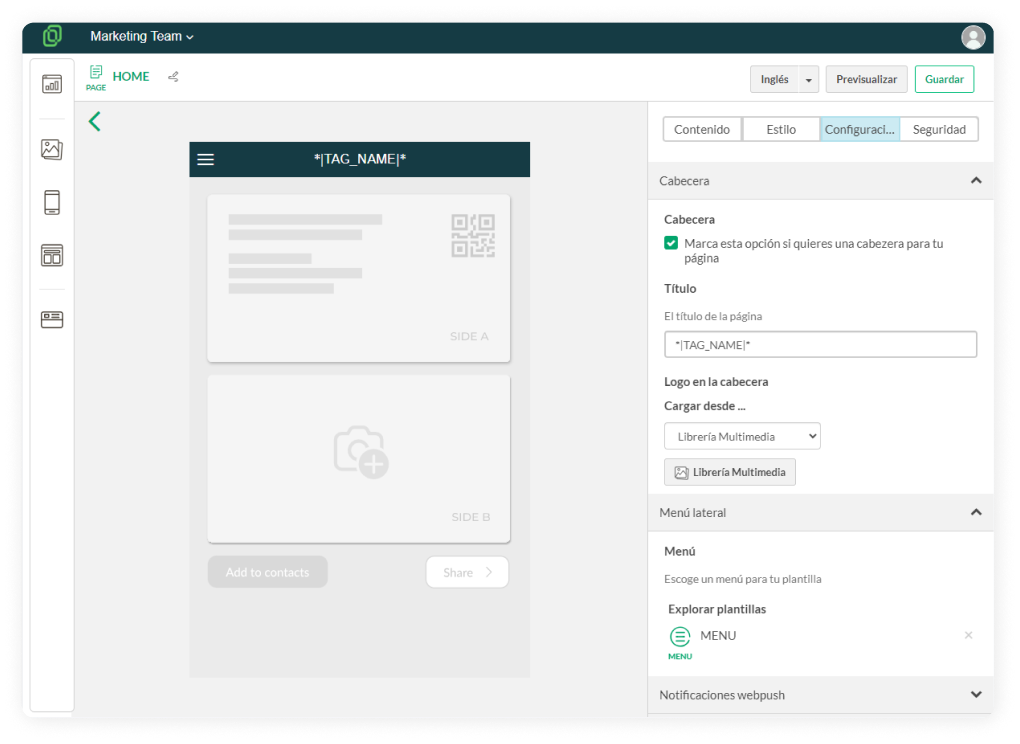](https://help.tictapcards.com/uploads/images/gallery/2024-06/TIgtQuvsM75RVeZs-config.png)
⮕ **Header**: Decide whether to include a header on your page and choose its title. Instead of a title, you can also upload a logo in the header.
⮕ **Sidebar Menu**: Select a menu for your template by clicking "Explore templates".
☝️ If you haven't created a menu yet or want to link a different one, click "Create new" and choose "Menu".
[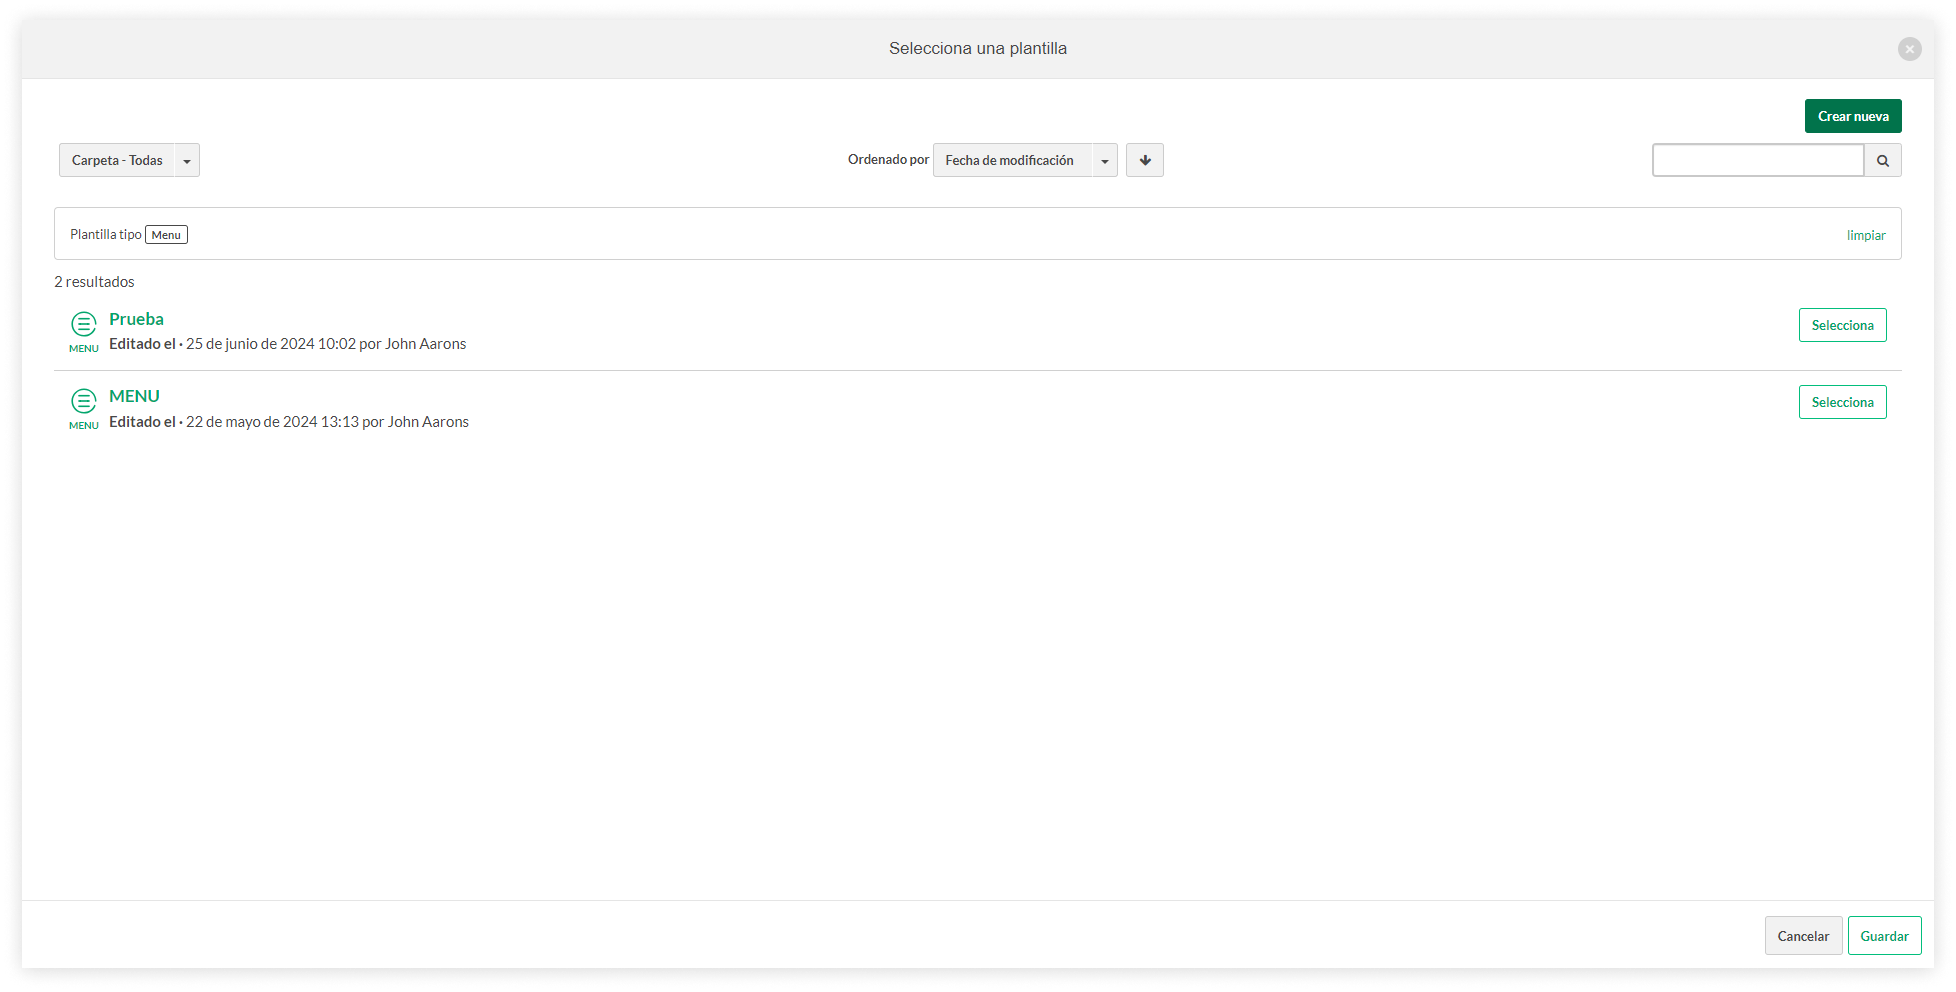](https://help.tictapcards.com/uploads/images/gallery/2024-06/HAPHC13WIZiAZzXj-frame-4-5.png)
⮕ **Web Push Notifications**: Activate the Web Push Notifications option if you want to subscribe to web push notifications for the card. Web push notifications are messages that applications or websites can send to users through their web browsers, even when the app is not open at that time.
⮕ **Data Source**: If you click on "Activate Repeater", the template will be configured to display certain data or elements repeatedly as needed, facilitating consistency and efficiency in presenting information.
# Manage the multimedia gallery
To access your team's multimedia gallery, navigate from the left sidebar menu. Here you can view all the images you've uploaded for your templates. From this section, you have the option to delete or download these images, as well as add new ones.
[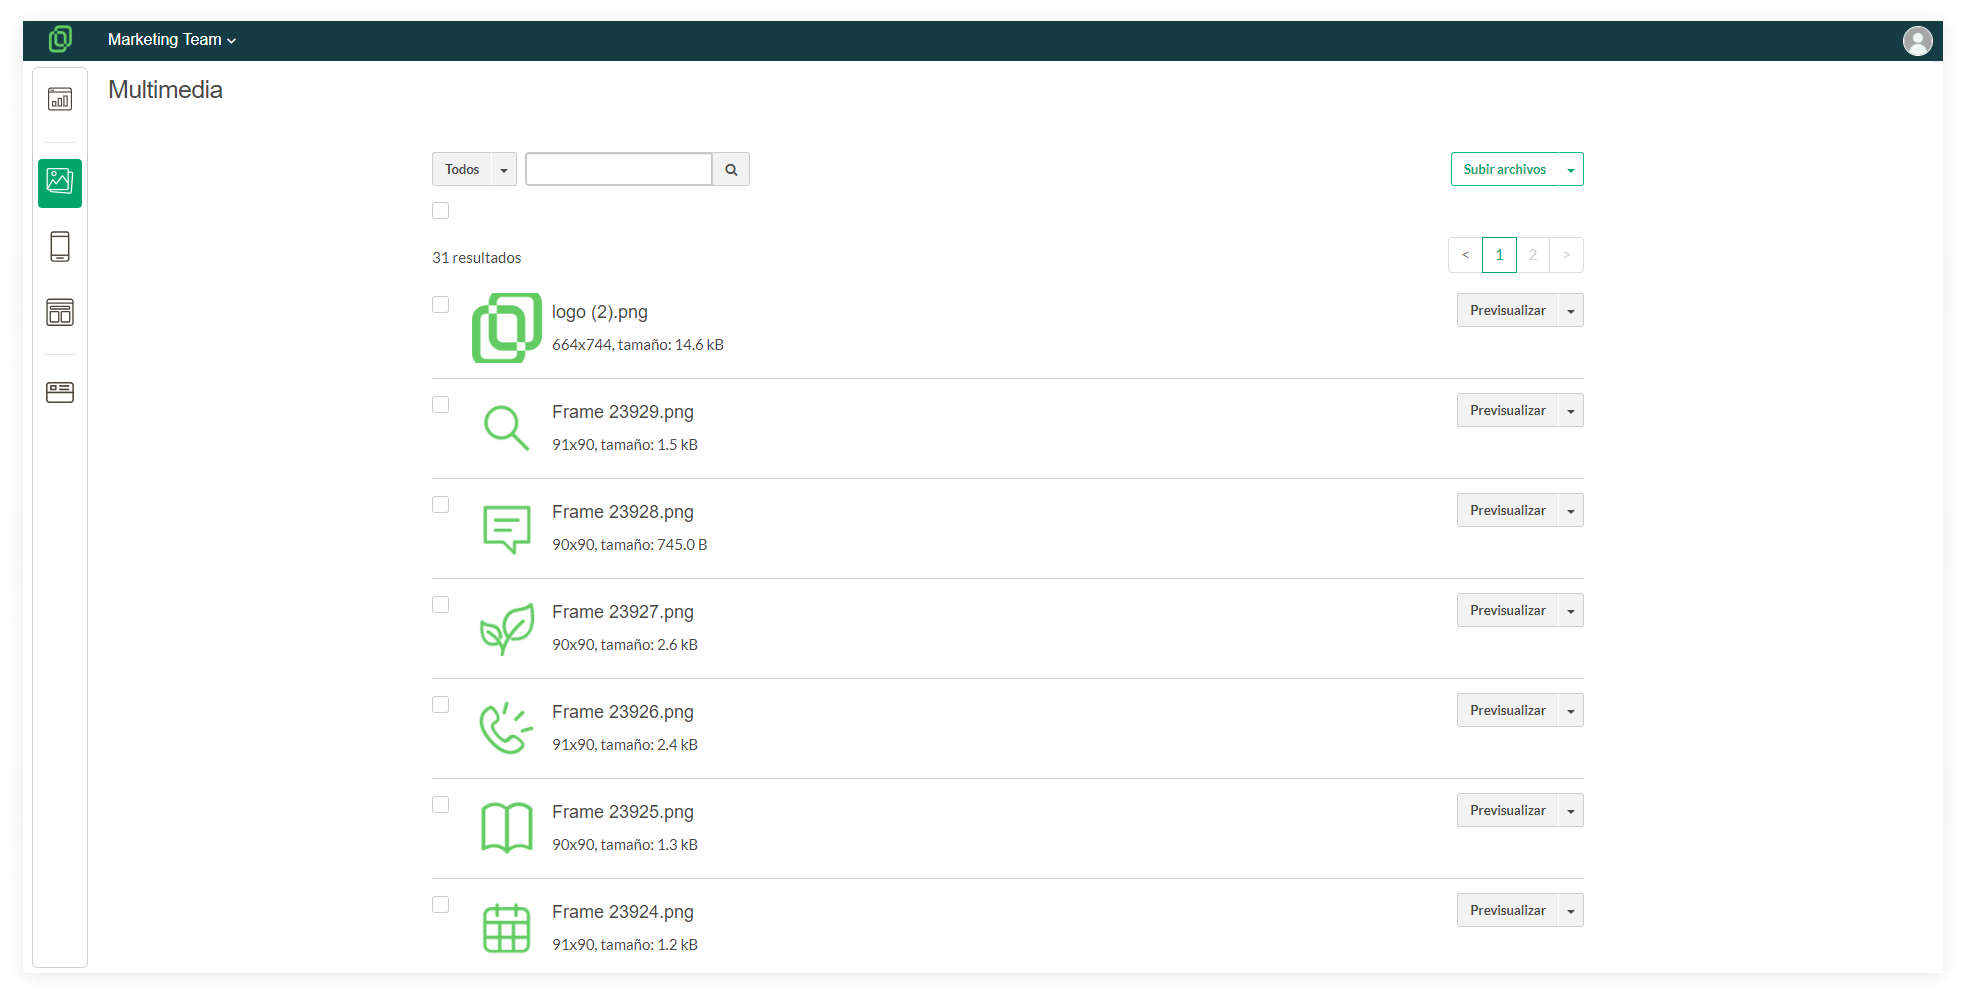](https://help.tictapcards.com/uploads/images/gallery/2024-06/x4qhdiI2lWfqziBp-galeria-multimedia-2.png)
☝️ Keep in mind that deleting an image from the multimedia gallery will remove it from all templates where it's currently being used.
# Create a new menu section
In this article, you will learn how to create a new section in the menu and link it not only to a template but also to a URL, phone number, file, and more. Linking your templates to the menu of your app is the easiest way to access them quickly when opening your vcard.
To create a new section in the menu, follow these steps:
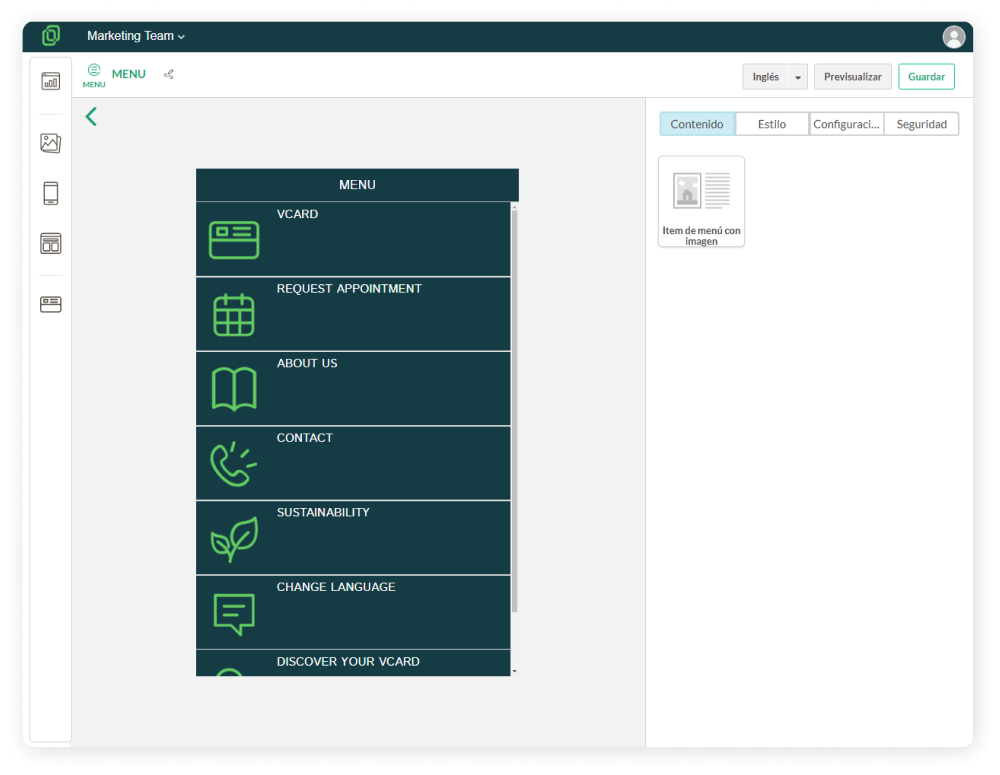
1. Open the **menu of your App** from the Templates section.
[](https://help.tictapcards.com/uploads/images/gallery/2024-07/ZsVLpvSDs7Q56fjx-frame-23648-1.png)
2. Once inside the **Template Editor**, you will see your App's menu. From here, you can delete, edit, duplicate existing menu items, or create a new one. To create a new one, drag the **Menu Item with Image** block from the right side of the screen into the **Content block**.
[](https://help.tictapcards.com/uploads/images/gallery/2024-07/M99eQqNv6qdSH5Lv-menu-1.png)
3. Now you have a new menu item. Configuring its content is straightforward:
[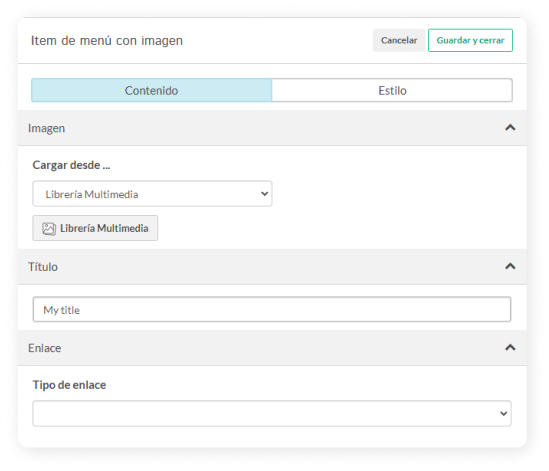](https://help.tictapcards.com/uploads/images/gallery/2024-07/VCdIDiQNSXwpIgZM-contenido-1.png)
- **Image**: Add an icon for your menu item.
☝️ Remember, for optimal display, the icon should have a square size with a transparent background.
- **Title**: Add the title of the menu item.
- **Link**: Choose what to link this menu item to, i.e., the screen that will open when clicking on this menu section. You have the following linking options: URL, File, Phone Number, Email Contact, Link based on the brand, and Entity.
[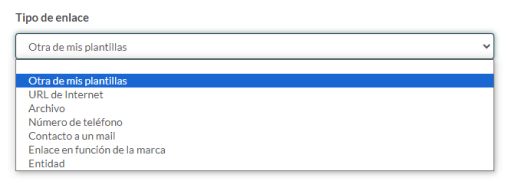](https://help.tictapcards.com/uploads/images/gallery/2024-07/TmXUA3LzCzaK9x7x-tipo-de-enlace-1.png)
4. Now that you have created the item, **configure its layout** in the Style section, where you can set the background color and text color.
[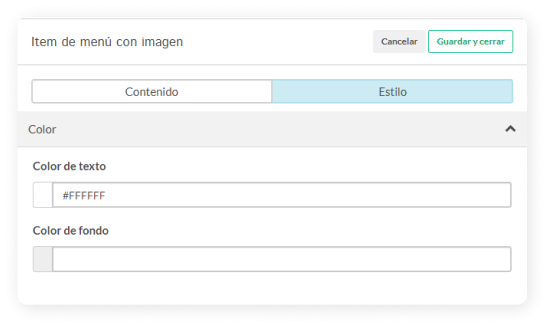](https://help.tictapcards.com/uploads/images/gallery/2024-07/ip9uaDFmHQq2JTJa-estilo-3.png)
You're all set! You have successfully created and configured a menu item.